Guide to Using SDXL / SDXLモデルの利用手引
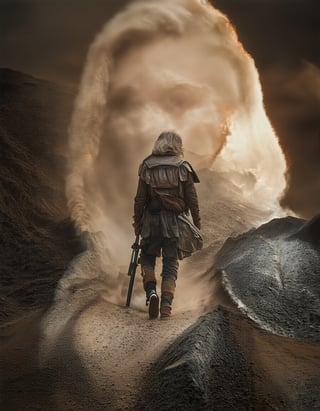
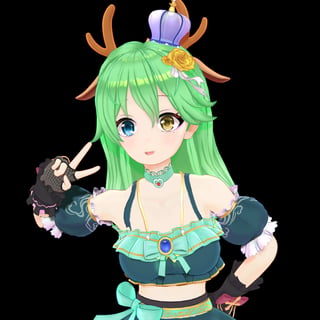
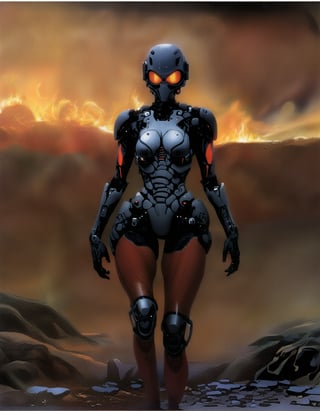
Guide to Using SDXLI occasionally see posts about difficulties in generating images successfully, so here is an introduction to the basic setup.1. IntroductionSDXL is a model that can generate images with higher accuracy compared to SD1.5. It produces high-quality representations of human bodies and structures, with fewer distortions and more realistic fine details, textures, and shadows.With SD1.5, generation parameters were generally applicable across different models, so there was no need for specific adjustments.However, while SDXL can still use some SD1.5 techniques without issues, the recommended generation parameters vary significantly depending on the model.Additionally, LoRA and Embeddings (such as EasyNegative) are completely incompatible, requiring a review of prompt construction.Notably, embeddings commonly used in SD1.5 negative prompts are recognized merely as strings in the XL model, so you must replace them with corresponding embeddings or add appropriate tags.This guide explains the recommended parameter settings for using SDXL.2. Basic ParametersVAESelecting "sdxl-vae-fp16-fix.safetensors" will suffice.Many models have this built-in, so specification might not be necessary.Image SizeUsing the presets provided by TensorArt for resolution should be sufficient.Small or excessively large resolutions may not yield appropriate generation results, so please avoid using the sizes that were frequently used with SD1.5 wherever possible.Even if you want to create vertically or horizontally elongated images, do so within the range that does not significantly alter the total pixel count (adjust by increasing height and decreasing width, for example).Sampling MethodChoose the sampler recommended for the model first.Then, select according to your preference.Typically, selecting Euler a or DPM++ 2M SDE Karras should work well.Sampling StepsXL models might generate images effectively with lower steps due to optimizations like LCM or Turbo.Be sure to check the recommended values for the selected model.CFG ScaleThis varies by model, so check the recommended values.Typically, the range is around 2 to 8.Hires.fixFor free users, specifying 1.5x might hit the upper limit, so use custom settings with the following resolutions:768x1152 -> 1024x15361152x768 -> 1536x10241024x1024 -> 1248x1248Choose the upscaler according to your preference.Set the denoising strength to around 0.3 to 0.4.3. PromptSDXL handles natural language better.You can input elements separated by commas or simply write a complete sentence in English, and it will generate images as intended.Using a tool like ChatGPT to create prompts can also be beneficial.However, depending on how the model was additionally trained, it might be better to use existing tags.Furthermore, some models have tags specified to enhance quality, so always check the model’s page.For example:AnimagineXL3.1: masterpiece, best quality, very aesthetic, absurdres is recommended.Pony Models: score_9, score_8_up, score_7_up, score_6_up, score_5_up, score_4_up is recommended.ToxicEchoXL: masterpiece, best quality, aesthetic is recommended.In this way, especially for XL models, particularly anime or illustration models, appropriate tag usage is crucial.4. Negative PromptsForget the negative prompts used in SD1.5. "EasyNegative" is just a string.The embeddings usable on TensorArt are negativeXL_D and unaestheticXLv13.Choose according to your preference.Some models have recommended prompts listed.For AnimagineXLnsfw, lowres, (bad), text, error, fewer, extra, missing, worst quality, jpeg artifacts, low quality, watermark, unfinished, displeasing, oldest, early, chromatic aberration, signature, extra digits, artistic error, username, scan, [abstract]For ToxicEchoXLnsfw, lowres, bad anatomy, bad hands, text, error, missing fingers, extra digits, fewer digits, cropped, worst quality, low quality, normal quality, jpeg artifacts, signature, watermark, username, blurry, artist name.For photo models, sometimes it is better not to use negative prompts to create a certain atmosphere, so try various approaches.5. Recommended SDXL modelToxicEnvisionXLhttps://tensor.art/models/736585744778443103/ToxicEnvisionXL-v1Recently released high-quality photo model. Yes, I created it.If you are looking for a photo model, you can't go wrong with this one.Check the related posts to see what kind of images can be created.You can create a variety of realistic images, from analog photo styles to gravure, movies, fantasy, and surreal depictions.Although it is primarily a photo-based model, it can also create analog-style images.ToxicEtheRealXLhttps://tensor.art/models/702813703965453448/ToxicEtheRealXL-v1A versatile model that supports both illustrations and photorealistic images. Yes, I created it.The model's flexibility requires well-crafted prompts to determine whether the output is more illustrative or photorealistic.Using LoRA to strengthen the direction might make it easier to use.ToxicEchoXLhttps://tensor.art/models/689378702666043553/ToxicEchoXL-v1A high-performance model specialized for illustrations. Yes, I created it.It features a unique style based on watercolor painting, with custom learning and adjustments.I have also created various LoRA for style changes, so please visit my user page.My current favorite is Beautiful Warrior XL + atmosphere.The model covers a range from illustrations to photos, so give it a try.However, it is weak in generating copyrighted characters, so use LoRA or models like AnimagineXL or Pony for those.ToxicEchoXL can produce unique illustration styles when using character LoRA, making it highly suitable for fan art.6. ConclusionI hope this guide helps those who struggle to generate images as well as others.Well... if you remix from Model Showcase, you can create beautiful images without this guide...SD3 has also been released, so if possible, I would like to create models for that as well.It seems that a commercial license is required for commercial use, though...SDXLモデルの利用手引ここではSDXLの基本的な設定を紹介します。1. はじめにSDXLはSD1.5と比較してより高精度な生成が行えるモデルです。人体や構造物はより高品質で破綻が少なく、微細なディテールがよりリアルに表現され、自然なテクスチャや影を描写します。SD1.5ではどのモデルでも生成パラメータは概ね流用可能で、特に気にする必要はありませんでした。SDXLは一部SD1.5の手法を利用しても問題ありませんが、推奨される生成パラメータがモデルによってもだいぶ変わります。またLoRAやEmbeddings(EasyNegativeなど)も一切互換性はありませんので、プロンプトの構築も見直す必要があります。特にSD1.5のネガティブプロンプトでよく使用されているEmbeddingsをそのままXLモデルで入力しても、ただの文字列としてしか認識されていませんので、対応するEmbeddingsに差し替えるか、適切なタグを追加しなければいけません。このガイドでは、SDXLを使用する際の推奨パラメータ設定について説明します。2. 基本的なパラメータVAEsdxl-vae-fp16-fix.safetensorsを選択しておけば問題ありません。モデルに内蔵されている場合も多いですので、指定しなくても大丈夫な場合もあります。画像サイズ解像度はTensorArtで用意されているプリセットを使えば問題ありません。小さかったり大きすぎる解像度は適切な生成結果を得られなくなりますので、SD1.5でよく使用していたサイズはなるべく使用しないでください。プリセットよりも縦長や横長にしたい場合でも、総ピクセル数を大幅に変更しない範囲で行ってください。(縦を増やしたら横は減らす等で調整)サンプリング法モデルによって推奨されるサンプラーがありますので、まずはそれを選択してください。あとはお好みです。基本は Euler a か DPM++ 2M SDE Karras あたりを選択しておけば大丈夫です。サンプリング回数XLではLCMやターボなど低ステップで生成できるようになっていたりしますので、必ずモデルの推奨値を確認してください。CFG Scaleこれもモデルによって異なりますので推奨値を確認してください。概ね2~8程度です。高解像度修復無料ユーザーだと1.5xを指定すると上限に引っかかってしまいますので、使用する場合はカスタムにして以下の解像度を指定してください768x1152 -> 1024x15361152x768 -> 1536x10241024x1024 -> 1248x1248Upscalerはお好みで指定してください。Denoising strengthは0.3~0.4程度。3. プロンプトSDXLはより自然言語の取り扱いに長けています。要素をコンマで区切って入力するだけではなく、普通に英文を入力するだけでも意図した通りの生成が行えます。ChatGPTなどにプロンプトを作ってもらうのもいいでしょう。ただしモデルが追加学習をどのように行ったかによって、既存のタグで記述したほうがいい場合もあります。また、モデルによっては品質を上げるためのタグが指定されていますので、使用するモデルのページは必ず見るようにしましょう。例えば…AnimagineXL3.1では「masterpiece, best quality, very aesthetic, absurdres」を指定することが推奨されています。Pony系モデルでは「score_9, score_8_up, score_7_up, score_6_up, score_5_up, score_4_up」が基本テンプレートとなっています。ToxiEchoXLでは「masterpiece, best quality, aesthetic」を指定することが推奨されています。このように、XLモデル、特にアニメ・イラストモデルでは適切なタグの使用が求められる場合があります。4. ネガティブプロンプトSD1.5で使用していたネガティブプロンプトは忘れてください。EasyNegativeはただの文字列です。TensorArtで使用できるEmbeddingsは negativeXL_D と unaestheticXLv13 です。お好みで指定してください。推奨されるプロンプトが記載されているモデルもあります。AnimagineXLでは以下のようなプロンプトが推奨されていますので、これをベースに組むのがいいかもしれません。nsfw, lowres, (bad), text, error, fewer, extra, missing, worst quality, jpeg artifacts, low quality, watermark, unfinished, displeasing, oldest, early, chromatic aberration, signature, extra digits, artistic error, username, scan, [abstract]ToxicEchoXLでは以下のようなプロンプトが推奨されていますnsfw, lowres, bad anatomy, bad hands, text, error, missing fingers, extra digits, fewer digits, cropped, worst quality, low quality, normal quality, jpeg artifacts, signature, watermark, username, blurry, artist name,フォトモデルではネガティブプロンプト無しのほうが雰囲気のある画作りができる場合もありますので、色々試してみてください。5. おすすめのSDLXモデル紹介ToxicEnvisionXLhttps://tensor.art/models/736585744778443103/ToxicEnvisionXL-v1最近リリースされた高品質フォトモデル。実写系モデルを探しているならこれを選んでおけば間違いありません。関連する投稿からどういった画像が作成できるか見てみてください。アナログ写真風からグラビア、映画、ファンタジー、非現実的な描写等、様々な実写的な画像が作成できます。基本的にはフォトベースのモデルですが、アナログ画風も作成できたりします。ToxicEtheRealXLhttps://tensor.art/models/702813703965453448/ToxicEtheRealXL-v1イラストからフォトリアルまで幅広く対応したモデル。プロンプトによってイラストかフォトリアルか振れ幅が大きいので、明確にプロンプトの作り込みが必要です。LoRAで方向性を強めると使いやすいかもしれません。ToxicEchoXLhttps://tensor.art/models/689378702666043553/ToxicEchoXL-v1イラスト特化の超高性能モデル。水彩をベースに独自の学習・調整を行っているので、わりと独特な画風を持っています。画風変更に様々なLoRAも作成していますので、是非私のユーザーページへお越しください。https://tensor.art/u/649265516304702656最近のお気に入りはBeautiful Warrior XL + atmosphere です。イラストからフォトまで一通り網羅できるので、是非使ってみてください。なお版権キャラの生成は弱いので、その辺はLoRAかAnimagineXLとかPonyとか使うといいと思います。ToxicEchoXLはキャラLoRAを使うと他のモデルとはタッチの違うイラストが作れますので、ファンアート適正自体は高いです。6. おわりにモデルのサンプルやみんなみたいにうまく生成できないな…という方の助けになれば幸いです。まあ…モデルのショーケースからリミックスすればこんなガイド見なくてもきれいな画像が作れますけどね…SD3もリリースされたので、もし可能ならそちらのモデルも作成してみたいですね。どうも商用利用は有償のライセンスが必要そうですが…


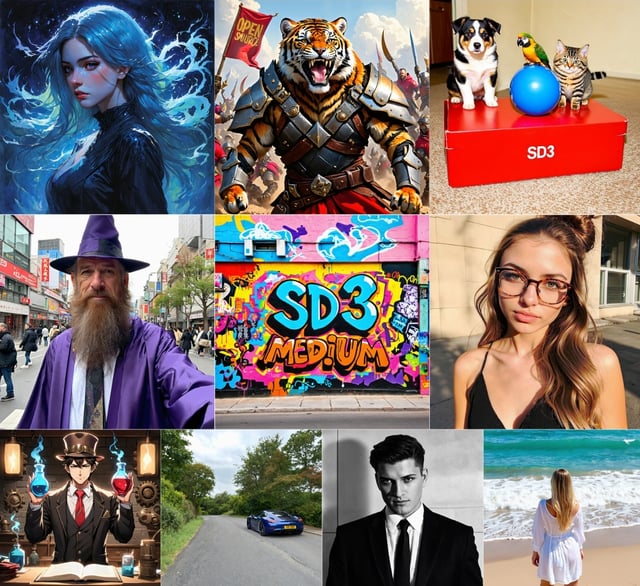


![[ 🔥🔥🔥 SD3 MEDIUM OPEN DOWNLOAD - 2024.06.12 🔥🔥🔥]](https://image.tensorartassets.com/cdn-cgi/image/anim=false,plain=false,w=320,q=85/article/637285499601470901/e0059161-4099-49b8-9323-854ff777302e.webp)


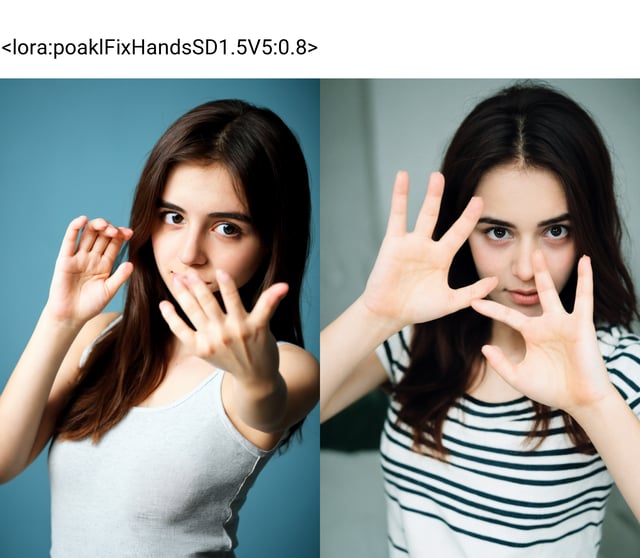
![[Guide] Make your own Loras, easy and free](https://image.tensorartassets.com/cdn-cgi/image/anim=false,plain=false,w=320,q=85/article/623742226471787403/a2fb9700-2e00-4b96-b4a4-d09d4dee65b2.png)